Outlaw Geek Custom Creations
Destiny 2 Class Emblem Decal - Choose from Titan Hunter Warlock - D2 Subclass Icon Decals - Bungie
Destiny 2 Class Emblem Decal - Choose from Titan Hunter Warlock - D2 Subclass Icon Decals - Bungie
Couldn't load pickup availability
Destiny 2 D2 Class Icon Emblem Decals - Choose from Titan Hunter Warlock - Subclass - video game - Xbox - PS4 - PC
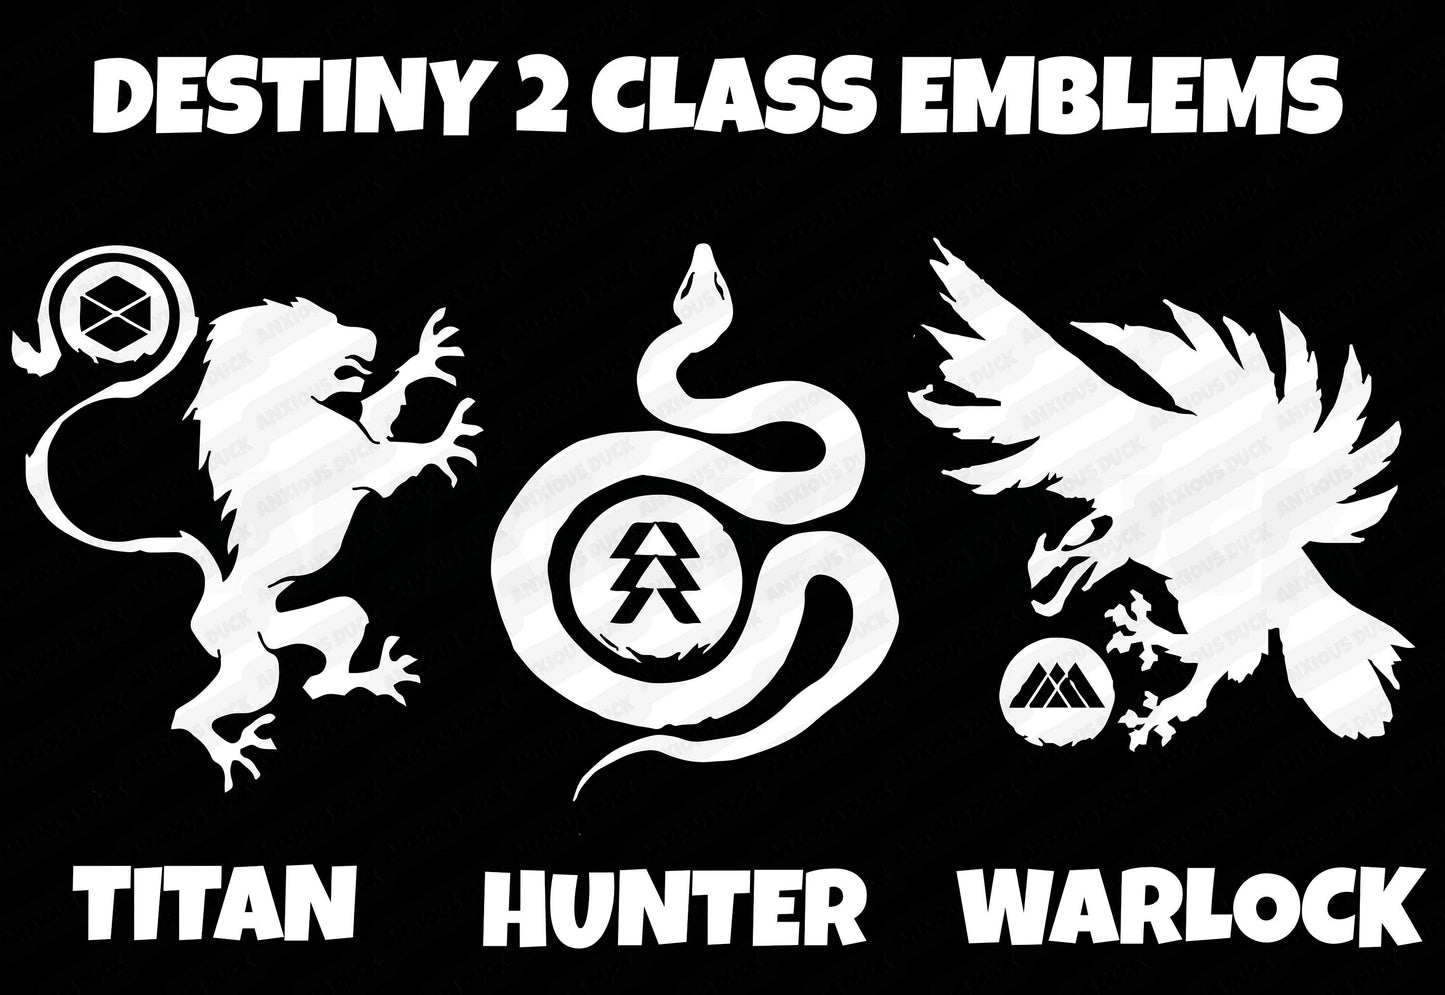
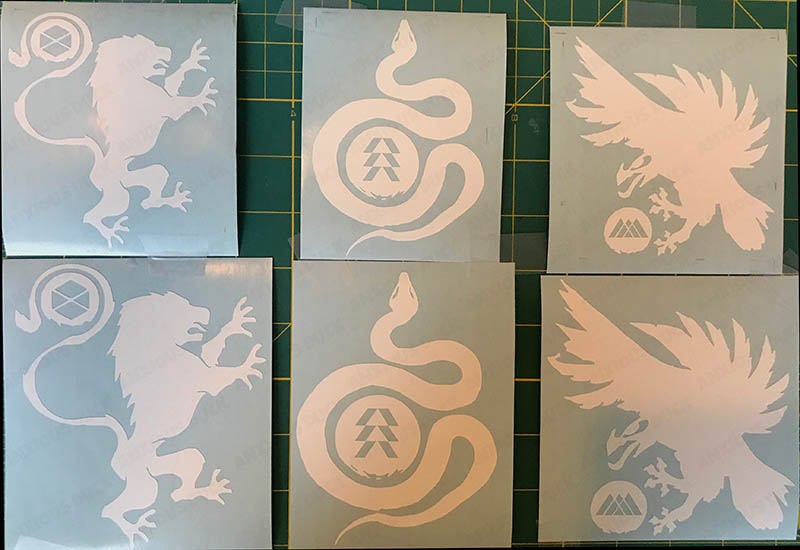
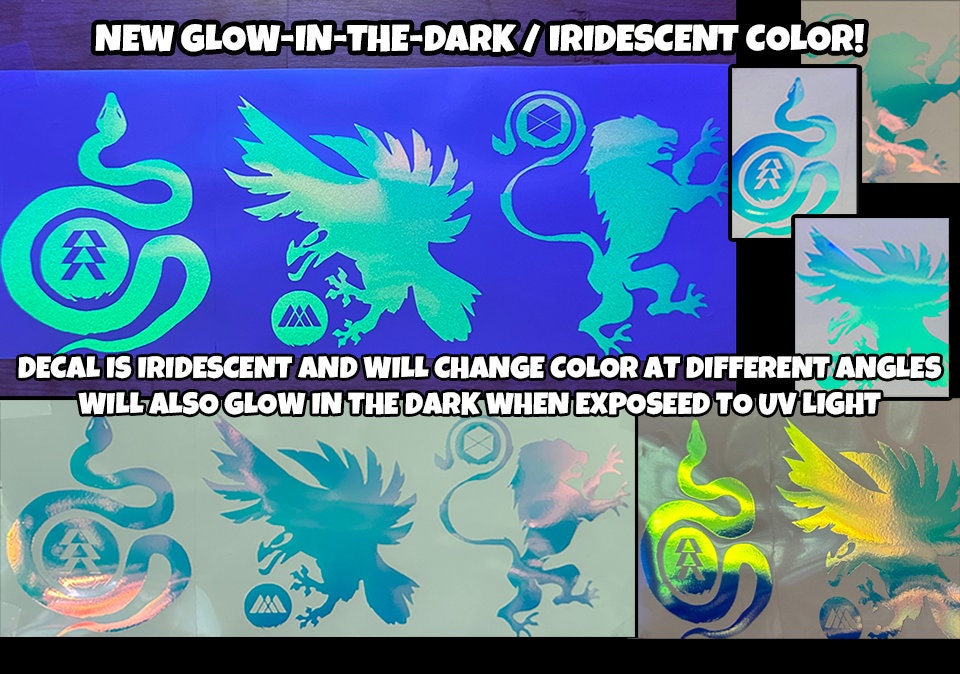
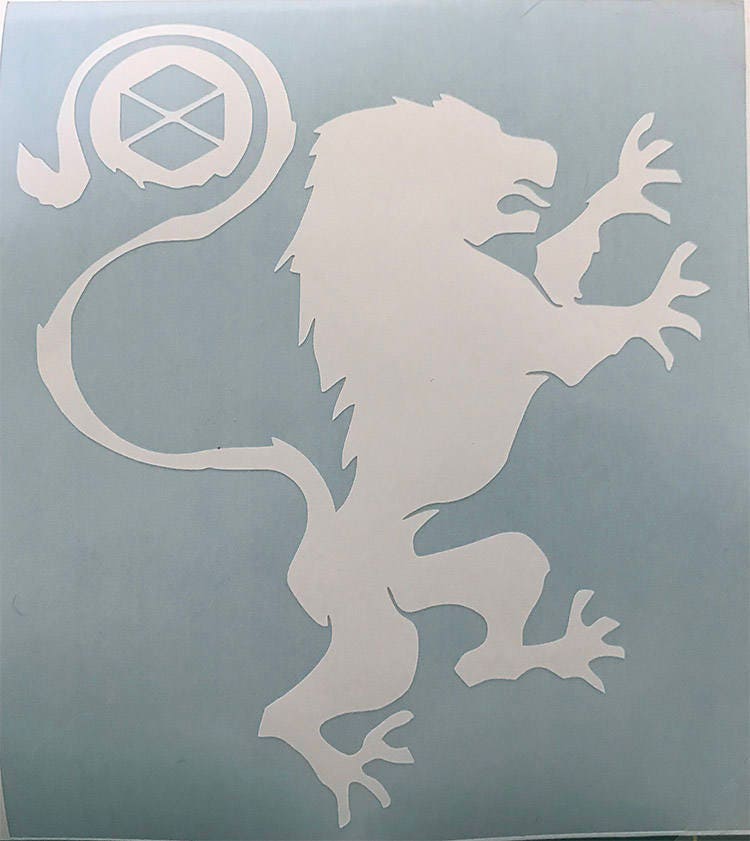
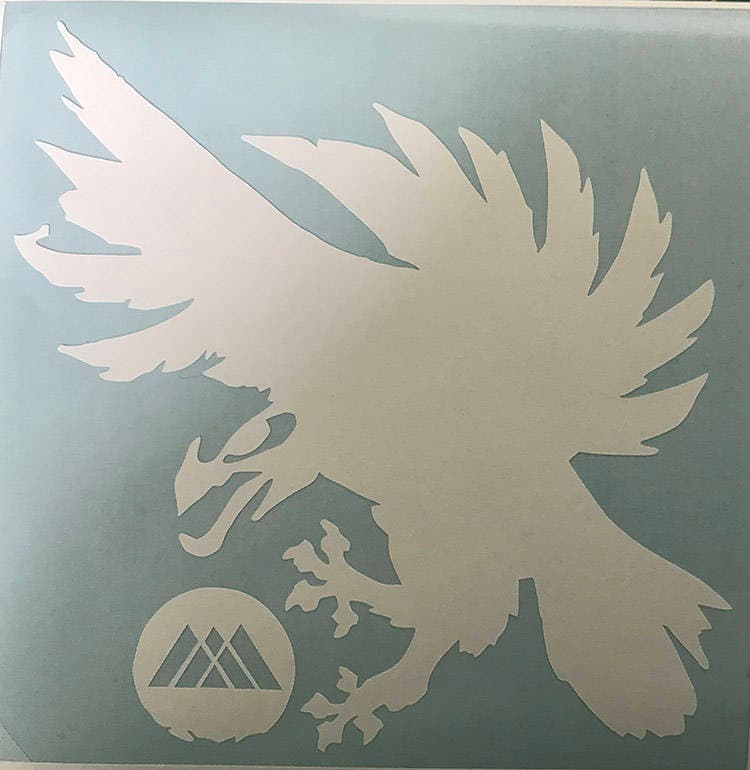
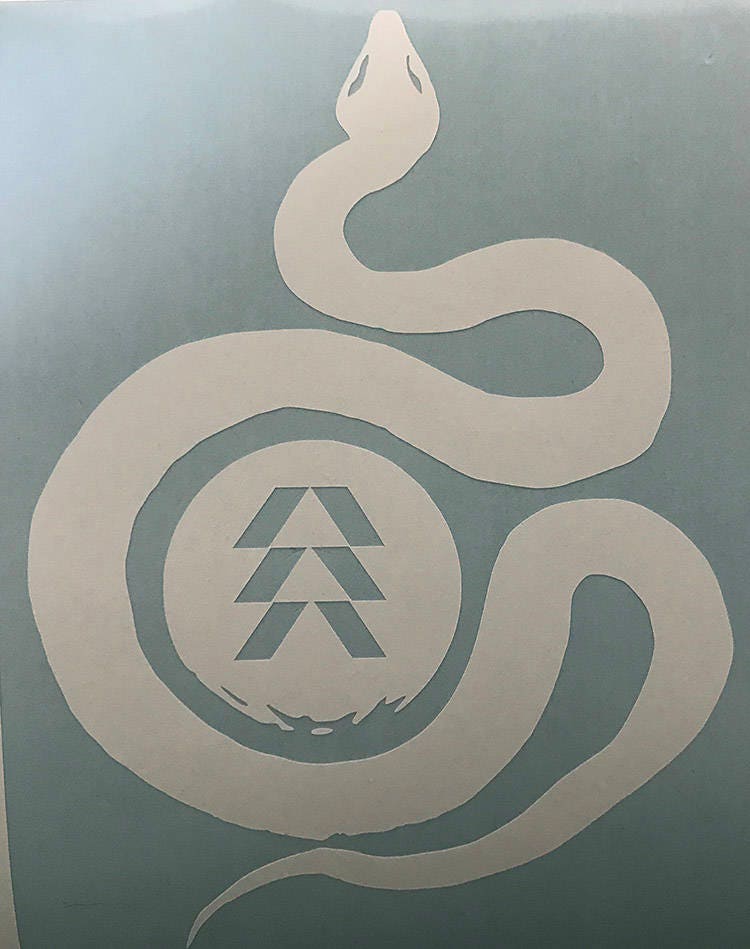
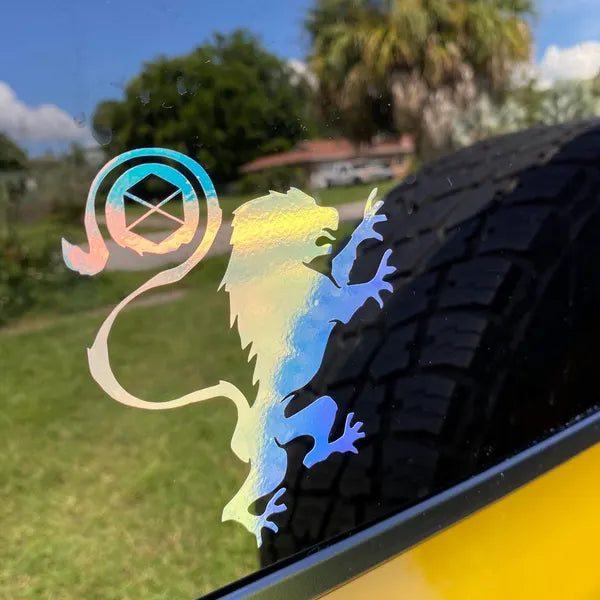
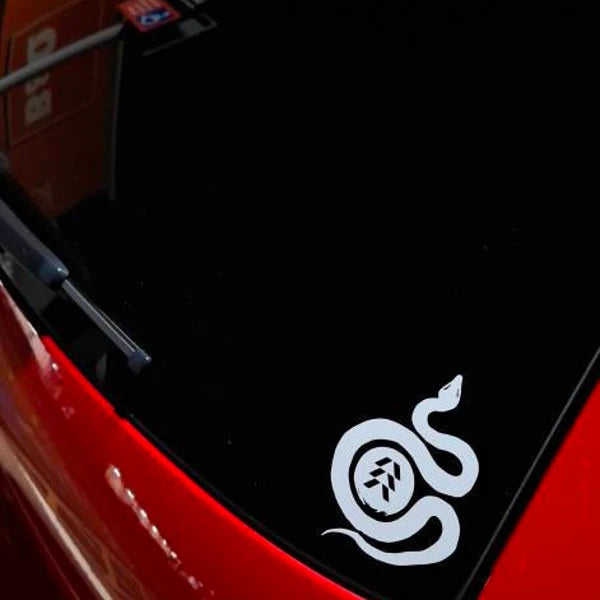
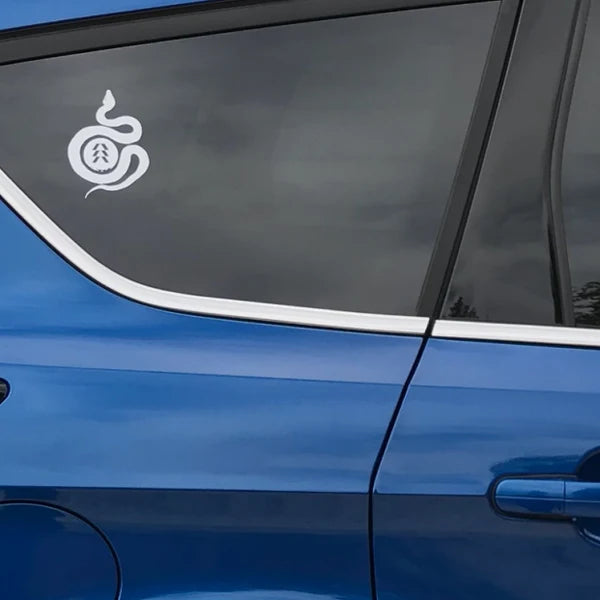
Show off your pride for your Destiny class with these decals based off the D2 class emblems for Titans, Hunters, and Warlocks. These are the icons featured in the new class emblems as seen in Destiny 2 (Hunter serpent, Titan lion, Warlock bird)
This is the perfect gift for a fan of Destiny or Destiny 2
The sizes for each emblem is listed below.
––––––––––––––––––––––––
LISTING ITEM
-- 1 Destiny 2 Class Icon Emblem Decal (your choice)
––––––––––––––––––––––––
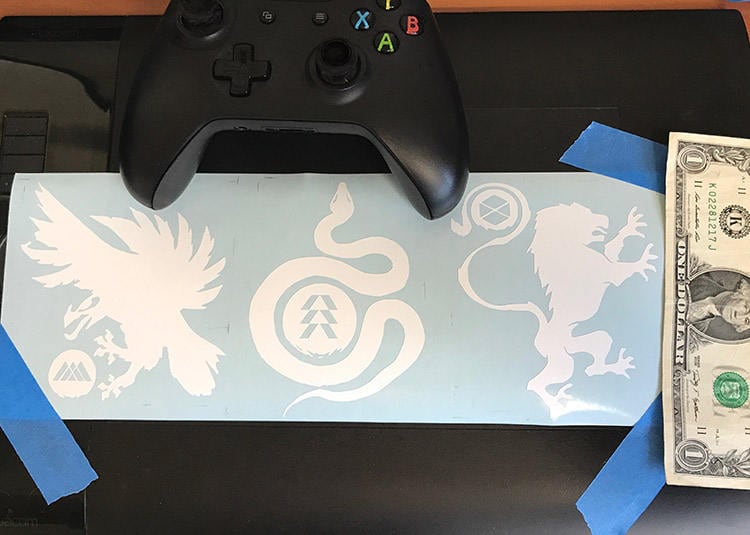
MEASUREMENTS
STANDARD SIZE:
Titan:
-- Height: 4.2 inches
-- Width: 3.7 inches
Hunter:
-- Height: 4.37 inches
-- Width: 3.25 inches
Warlock:
-- Height: 4 inches
-- Width: 4 inches
LARGE DECALS ARE APPROXIMATELY ONE INCH LARGER
LARGE SIZE:
Titan:
-- Height: 5.25 inches
-- Width: 4.5 inches
Hunter:
-- Height: 5 inches
-- Width: 3.75 inches
Warlock:
-- Height: 4.75 inches
-- Width: 4.75 inches
––––––––––––––––––––––––
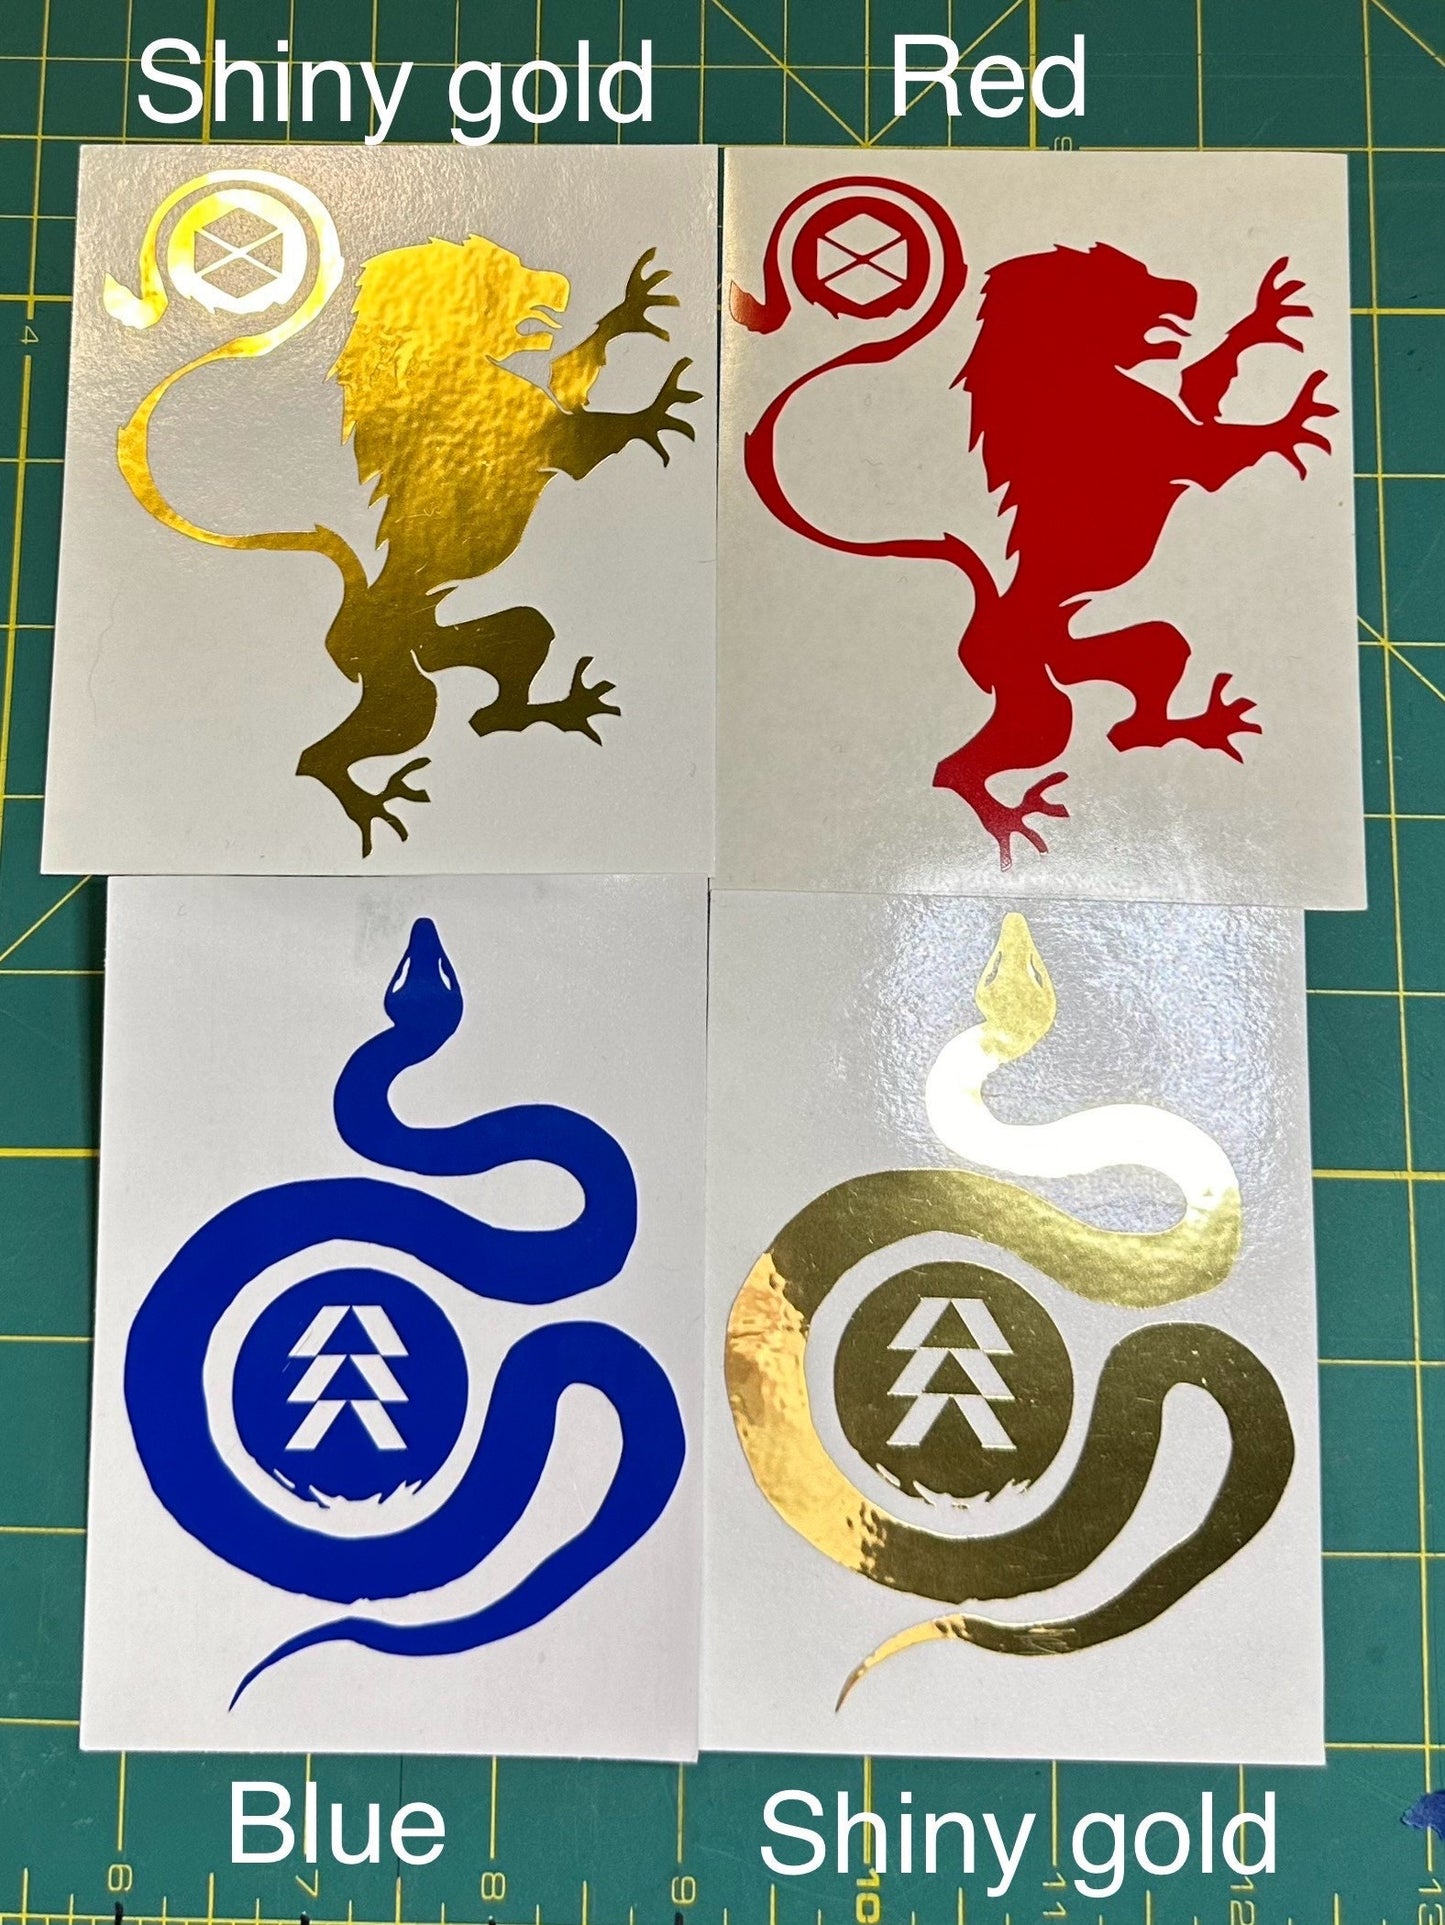
COLORS
-- White
-- Red
-- Blue
-- Light Blue
-- Yellow
-- Shiny Gold
-- Iridescent / Glow-in-the-Dark
(contact me if you require a different color, subject to availability)
––––––––––––––––––––––––
MATERIALS
-- Adhesive Vinyl
–––––––––––––––––––––––
APPLICATION INSTRUCTIONS
-1 Clean the surface thoroughly with rubbing alcohol or soap & water -- do not use a cleaning agent like Windex, as that may prevent the decal from adhering properly.
-2 Prepare the decal for application by firmly rubbing a squeegee or credit card across the surface to make sure the decal did not separate from the transfer tape during the shipping process. This helps to prevent air bubbles.
-3 Slowly peel up the grid-lined transfer tape, making sure that the decal stays attached to the transfer tape and pulls away from the backing. If any of the decal does not come up with the tape, carefully place it back down and repeat step 2.
-4 Carefully lower the decal onto the surface, and once it's placed as desired, firmly attach it to the surface by rubbing a squeegee or credit card over it several times, until you are sure it has been properly applied.
-5 Slowly and carefully peel back the transfer tape, starting at one corner and peeling down to the opposite corner. Make sure the decal stays in place. If it does not, repeat step 4, making sure to give extra attention to the areas that did not adhere properly.
--For best results, do not attempt to apply the decal in extreme heat or cold.
––––––––––––––––––––––––
If you have any special requests, please contact me! I may offer other colors in the future if there is a demand.
Outlaw Geek is owned by the same person who operates the Anxious Duck Etsy store